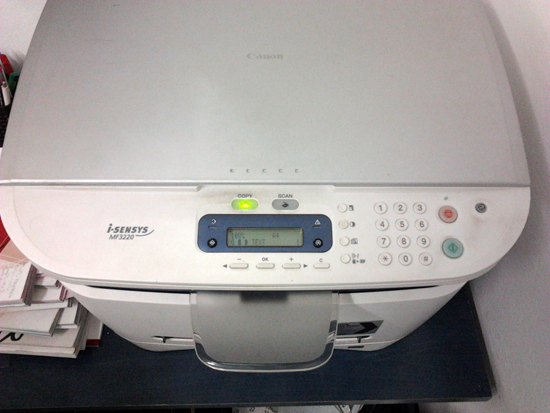
I recently had this issue with my Canon printer, the error “Check paper size”, and the page would get stuck in queue.
The thing is, these issues with the printers are some of the worst as it is hard to identify what goes wrong and how to fix the problem.
Issues that can occur.
1. “Check paper size error Canon” after printing the first page.
2. A page that remains in queue and keeps getting printed after you restart your printer.
In this article, I am going to tell you all you need to do in order to solve these two issues.
You don’t need to reinstall your drivers.
That is the last thing you can do if really nothing works.
If you get the issues mentioned, unplug the power source from the back of the printer.
And wait for around 10 minutes – 30 minutes (recommended).
Connect back the power source for the printer.
The printer will not auto-print anymore that page that remained in queue.
Windows settings
From Windows, “Start” button, from “printers and faxes”, select “A4” for both the options there.
Be careful what you print.
If you make a test and you write something in notepad and you print, notepad will auto-change the “A4” settings into “Match letter”.
In this case, what will happen is that you will get the same error.
Getting the same error means that you will have to restart the process all over again.
Other software programs like “Microsoft Office”, “Open Office”, “Adobe Reader”, might not encounter this issue as their settings will have the page size on “A4” by default.
Another thing that you need to do is to set on every computer from your network, “A4” from “printers and faxes”.
Also, very important, at regional settings, select “Australia” for both options (there are two there).
Hopefully, everything will work out for your printer.
