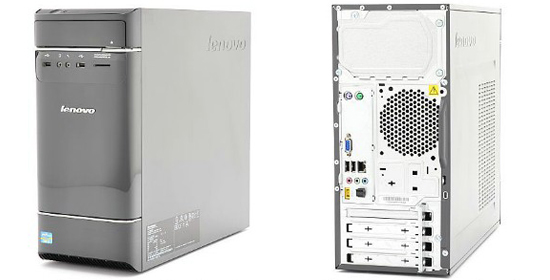
The power source is like the ones from laptops, don’t panic if you don’t see the classic power source.
Read the manual and plug the power cables, the yellow jack and the adaptor.
Bios settings
In order to enter Bios, hit the F1 (press it repeatedly), instead of the old “Delete”.
In order to install Windows XP.
From Bios, select “Legacy only”.
The selecting arrows are “-” and “+” from numpad. So it’s minus and plus.
Also from Bios, select “IDE” instead of “AHCI” if you want to install Windows XP. If you don’t do that, you will get a blue screen when Windows is starting its installation.
If you want to install Windows Vista, 7 or 8, don’t modify anything from Bios.
Drivers
For Windows XP.
Place the CD with the drivers and install what you find from the autorun interface. You won’t be able to install the important drivers from there though.
First thing to do is to install the LAN driver.
The Windows XP LAN driver is located on the CD. With Windows Exploder, browse the CD > RTL8111 > Nonvista > install the driver you find there.
Connect the LAN cable and restart the PC, the network should work after.
The graphic card drivers are not present on the CD. Search on Google “Intel HD 4000 graphics driver for Windows XP”. Download and install what you find.
For the audio driver, search on Google: Realtek AC 97 driver for Windows XP, download and install what you find.
For Windows Vista, 7 and 8, install all the drivers from the CD, the autorun interface.
After Windows was installed and is running, restart the PC and remove the DVD-RW from primary boot. Remember, with + and – from numpad.
The same steps can be applied to other Lenovo desktop PCs from the “H” series, H500S for example.
If you have any questions, leave in the comments.
